This article walks teachers through how to create classes and students when using a Google integration.
IN THIS ARTICLE
What You'll Need
Importing Class Rosters from Google Classroom
Updating Class Rosters with Google Classroom
Adding Students with a Class Code
Logging in with Google SSO
Next Steps
Frequently Asked Questions
What You'll Need
- A paid School or District plan including at least one of the following products: BrainPOP, BrainPOP Jr., BrainPOP ELL, BrainPOP Science.
- Your Google super-administrator has set up an integration for your Google domain: Set Up a Google SSO Integration
- You are logged in with a Google teacher account: Creating Teacher Accounts with Google SSO
Importing Classes from Google Classroom
The first time you log in to BrainPOP from the Google SSO app as a teacher, you will be prompted to import any Google Classroom rosters you may have.
Importing classes from Google Classroom will create corresponding classes in BrainPOP and rosters all the students in those classes to SSO via Google automatically.
If you do not use Google Classroom, you can skip this section and read the section on Adding Students with a Class Code.
- Sign in to BrainPOP using Google SSO by clicking Sign in with Google on BrainPOP, BrainPOP Jr, BrainPOP Science or BrainPOP ELL. Alternatively, you can use the Google Launcher in Google Workspace Apps for all three sites.
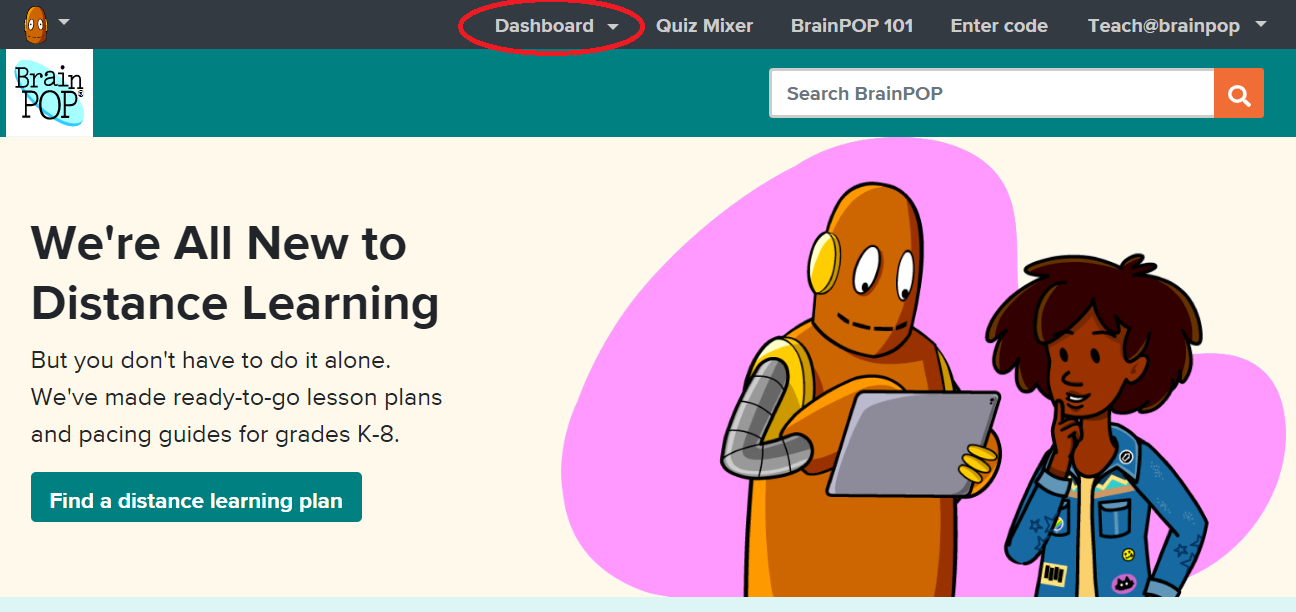
- Click Dashboard.

- Click on Import New Classes button or + Import classes from Google Classroom link
If you decide not to import classes immediately, you can always import them later by selecting Import New Classes in your dashboard.
- Select the classes that you would like to import.
NOTE: It's very important that you check to ensure that the classes you import only contain students, and do not contain any staff as students. If you import a class that contains teacher or staff members as students, you should delete the student accounts created from your roster. Otherwise, the student identity will block the staff member from successfully logging in with Google SSO.
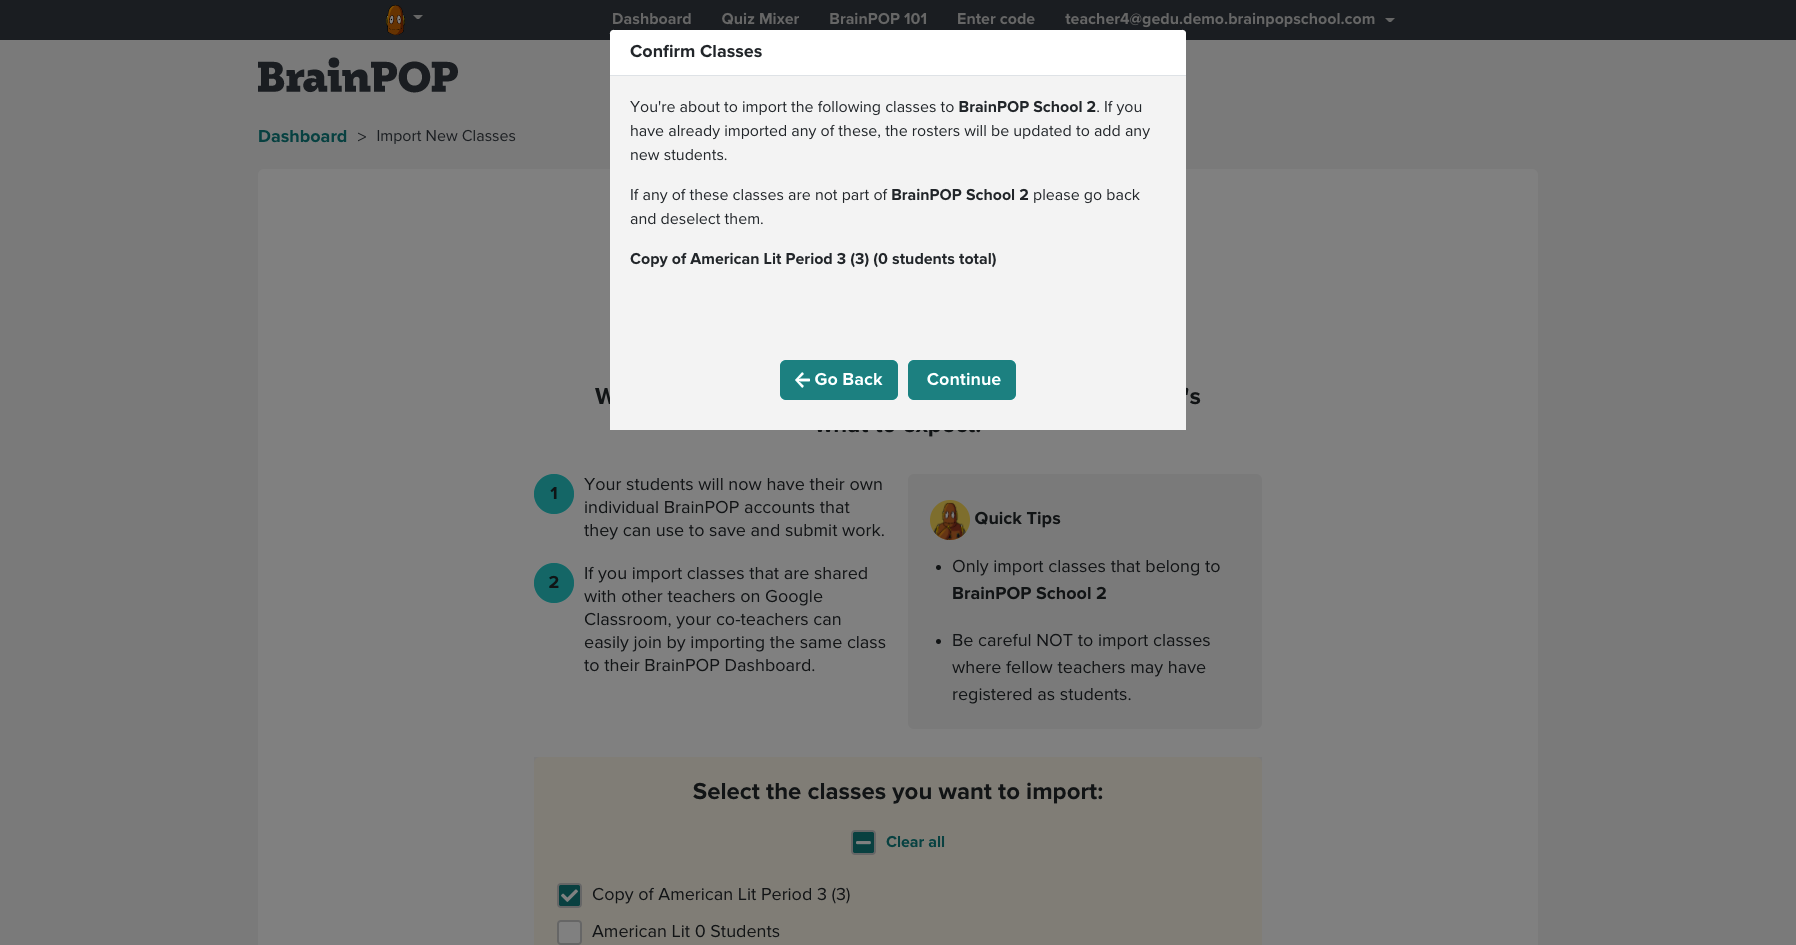
- Confirm the class selection(s). You can Continue to proceed or Go Back to choose again.
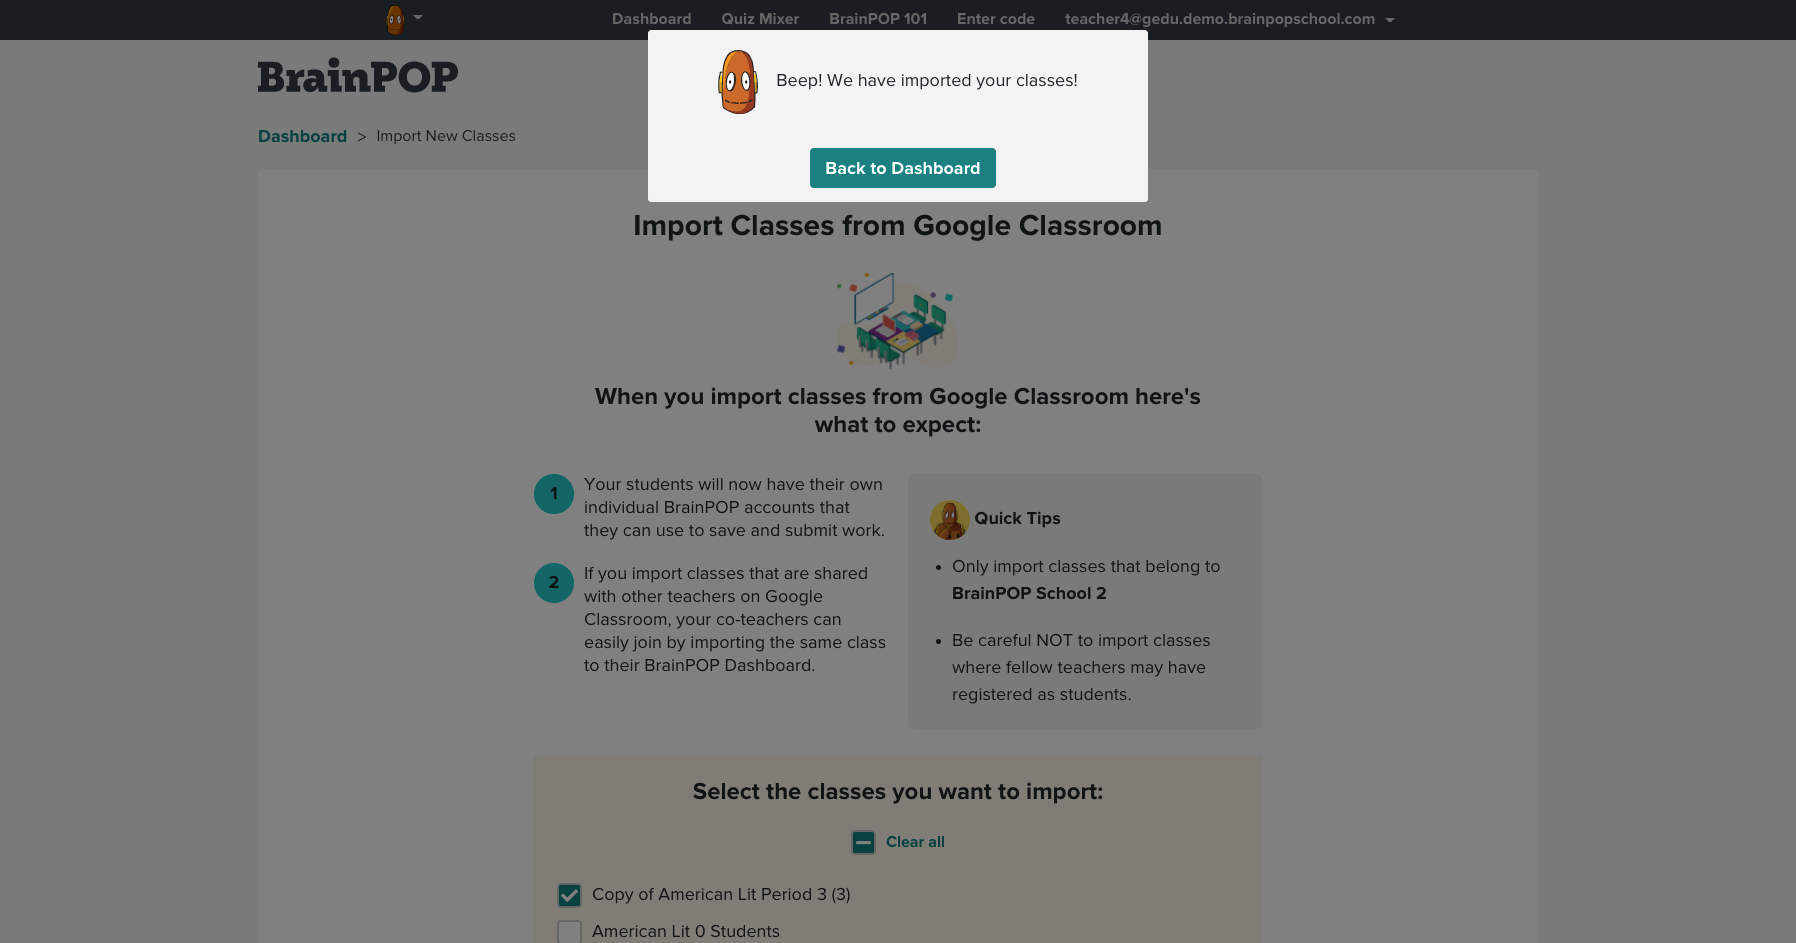
- Click Back to Dashboard and view your class in Class Settings.
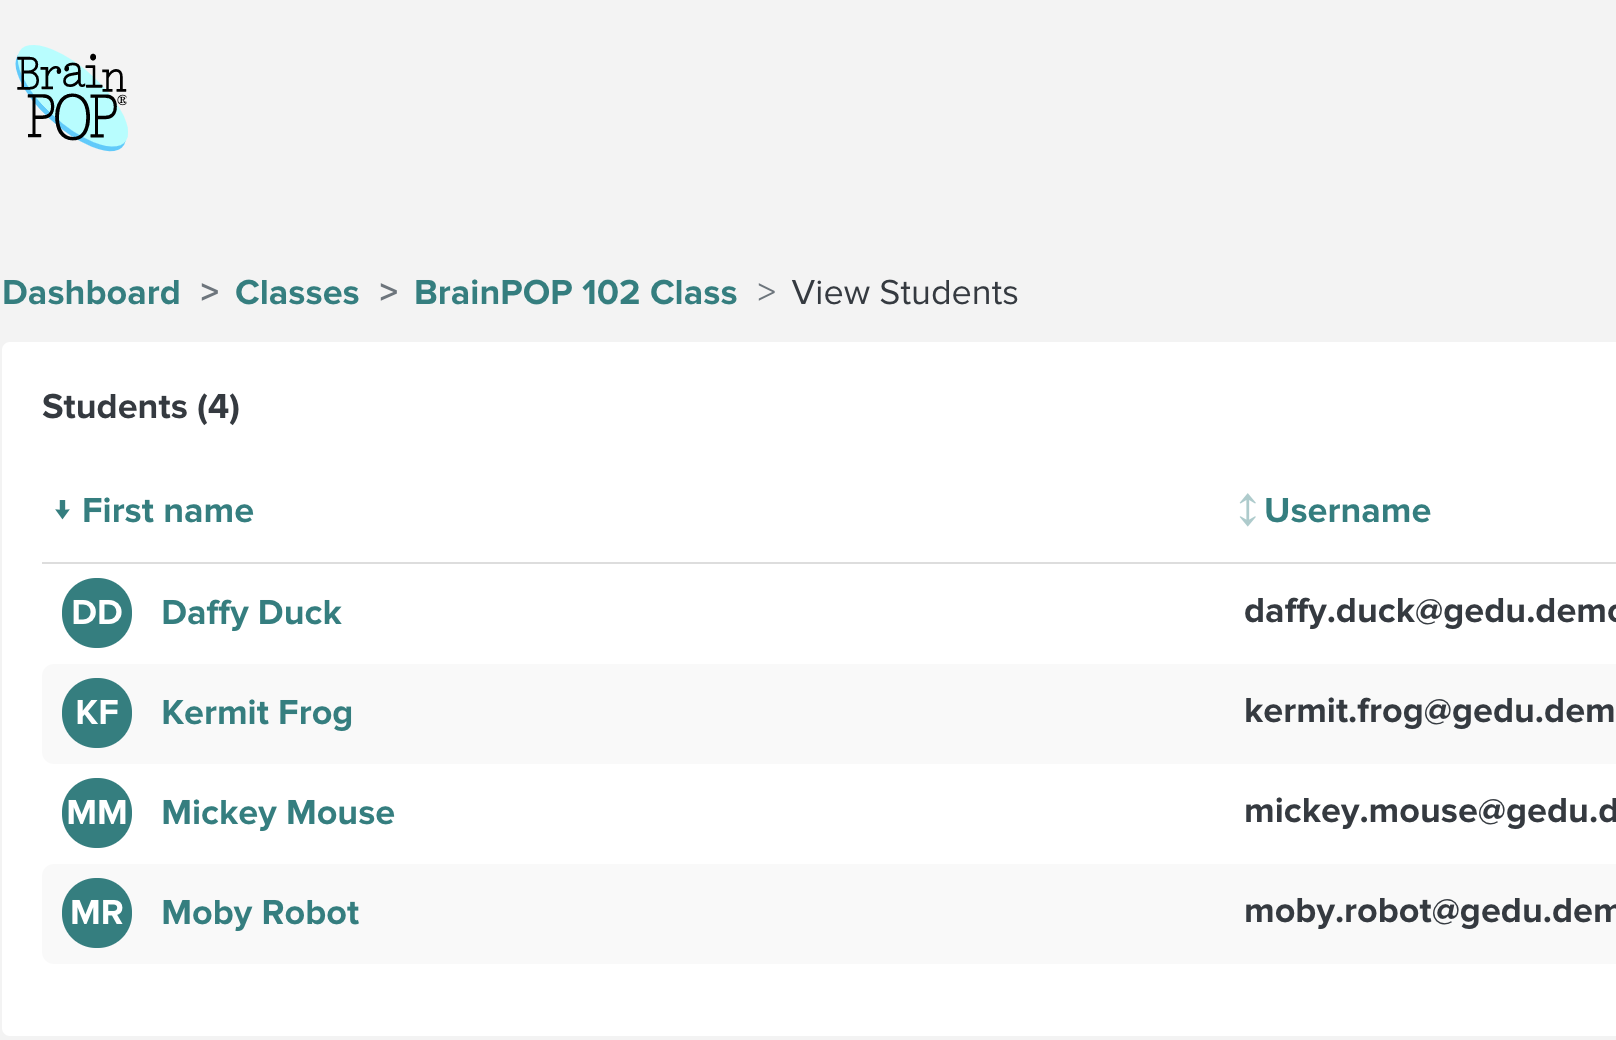
- After you have imported your class, you can view your class roster at any time from the Teacher Dashboard.
Updating Class Rosters with Google Classroom
If your Google Classroom roster changes, you can update the corresponding class in BrainPOP at any time.
- Click Dashboard.

- Select All Classes.
- Click the class you wish to update.
- Click View Students.
- Click Update Class Roster.
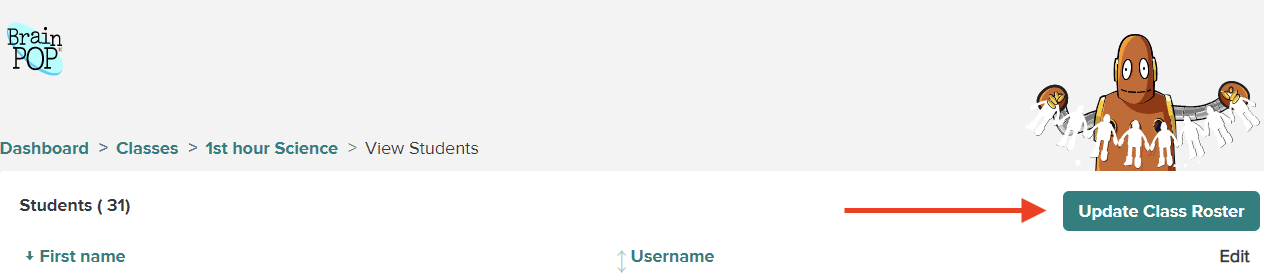
- Follow the on-screen instructions to update the roster. The new import will add any additional students that have joined your class since your last import or update. It will not remove any students from your class that do not appear in the Google Classroom roster.
Adding Students with a Class Code
If your school or district is set up with a Google integration and do not use Google Classroom to roster your classes, you can also create a class manually.
If you haven't created your first class yet, here's how:
- Log in to your individual account.
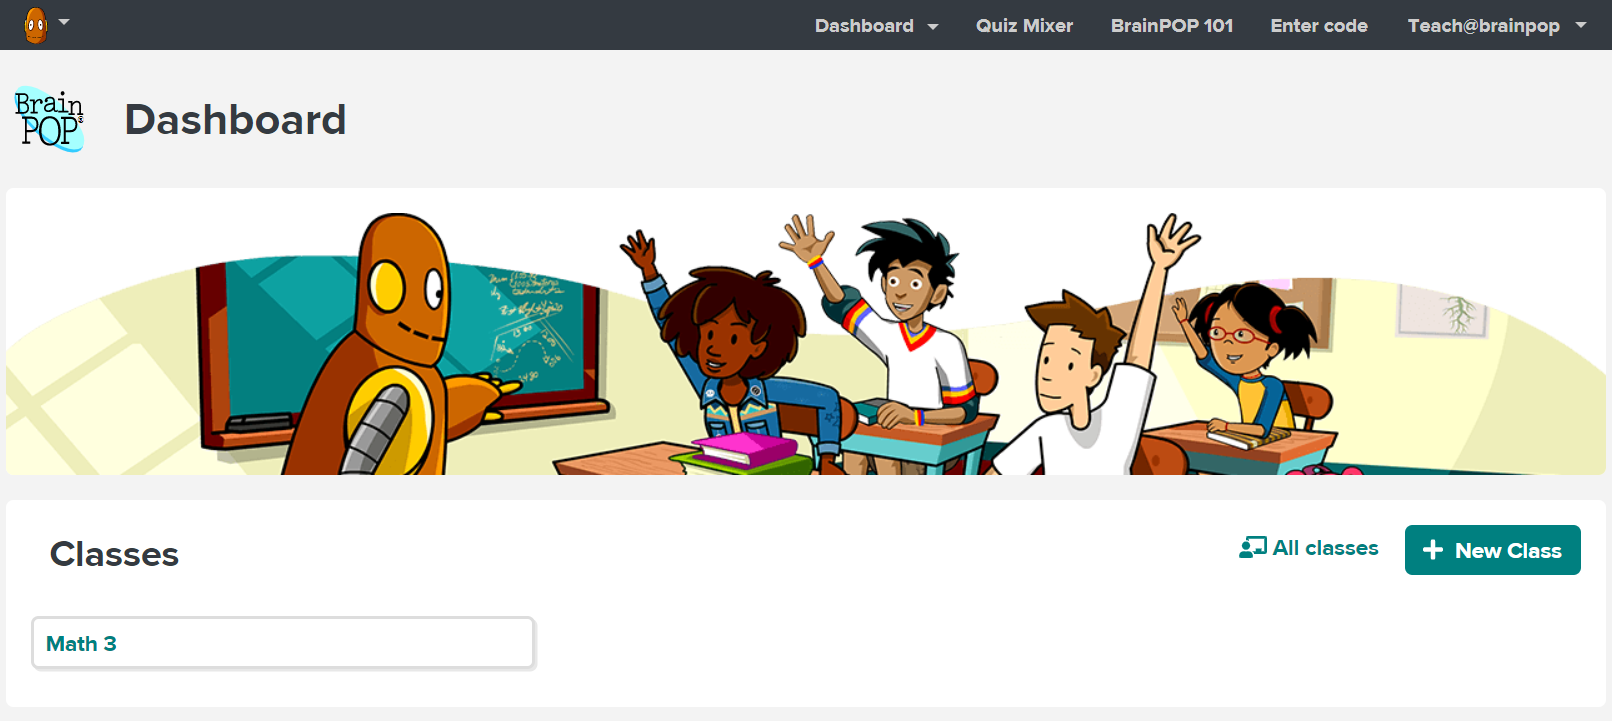
- Click Dashboard at the top of the screen.
- Click New Class.
- Create a class name. A class code will be automatically generated for you.
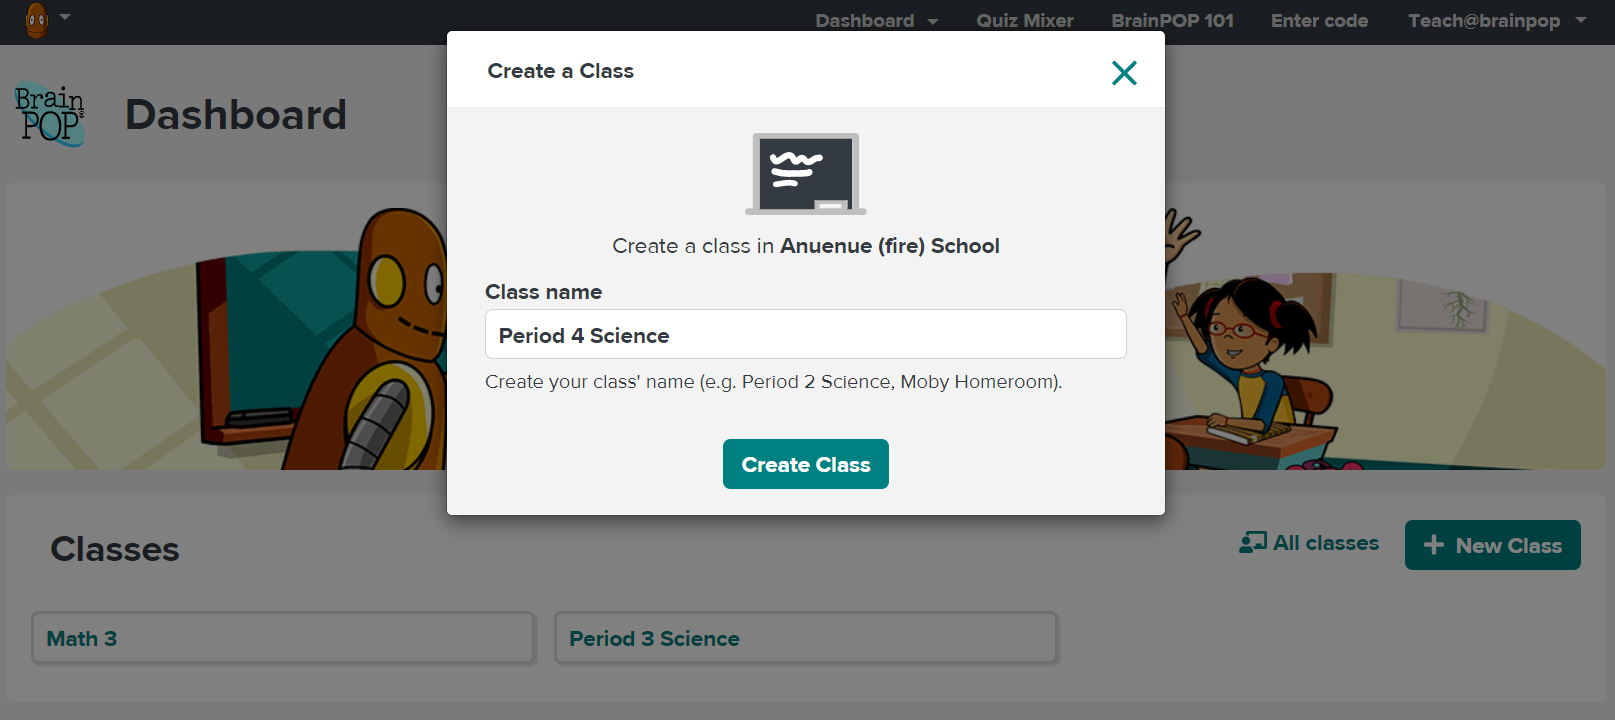
- Click Create Class.
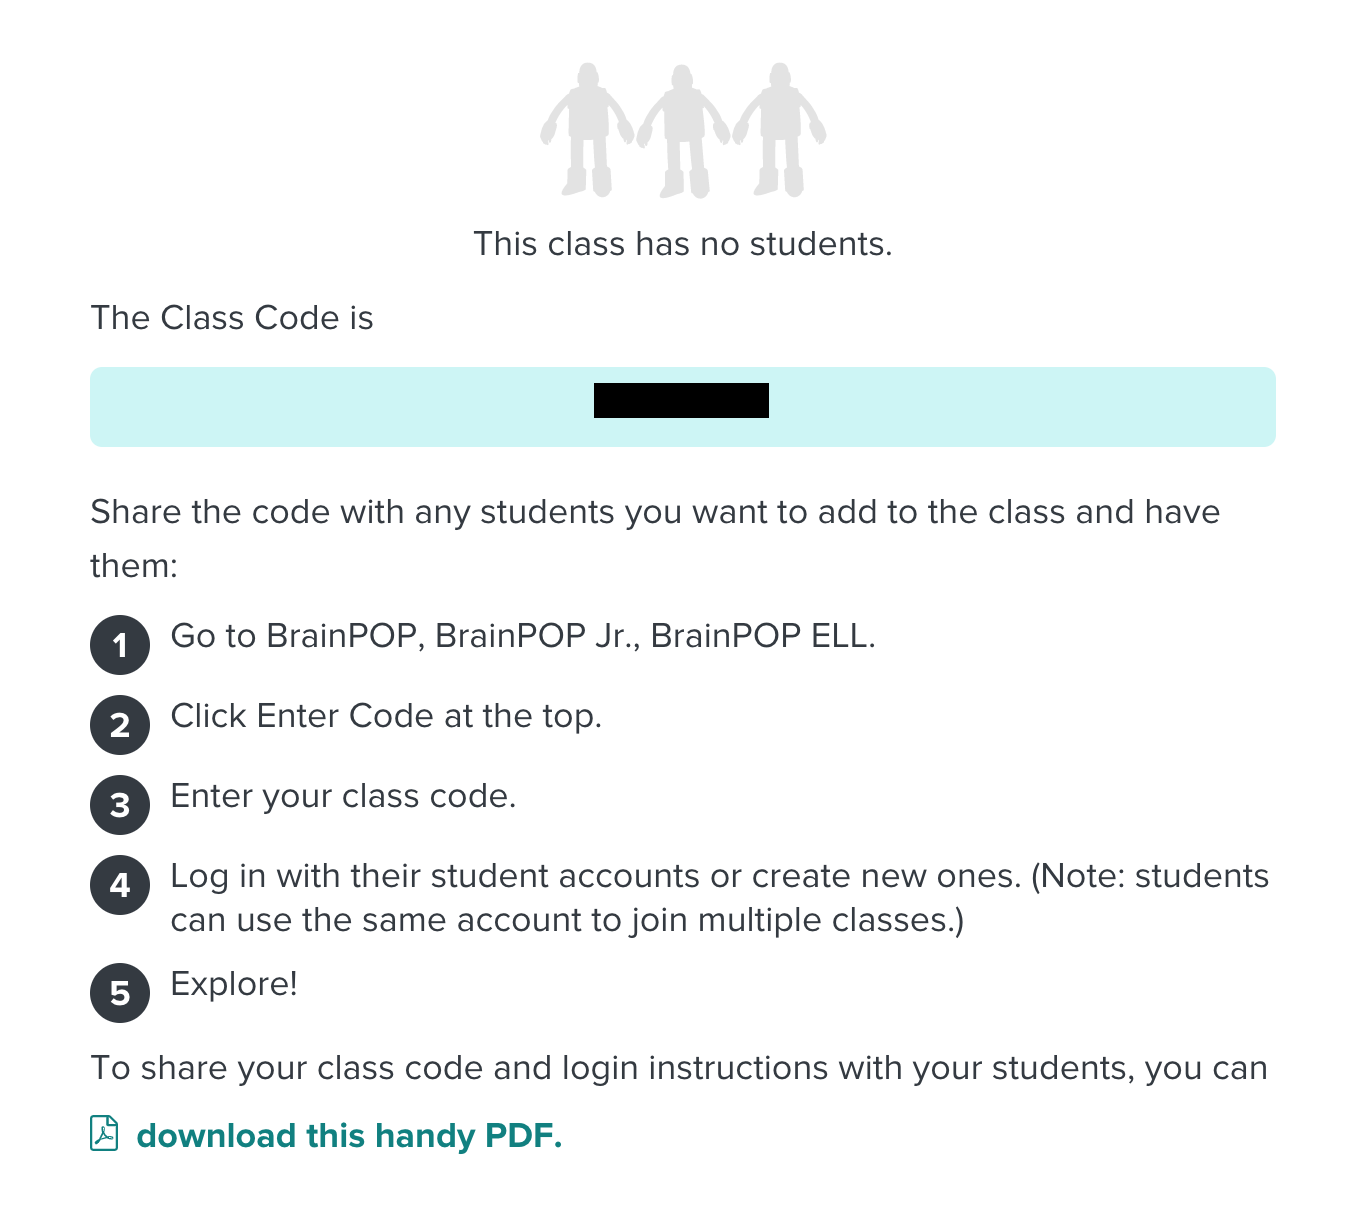
- Once you do this, you'll get a pop-up like this one.

- Students will use the Class Code to join your class, so have it ready to share with them. Ask students log in with Google (see Logging in with Google SSO section below).
- They will be prompted to enter a Class Code.
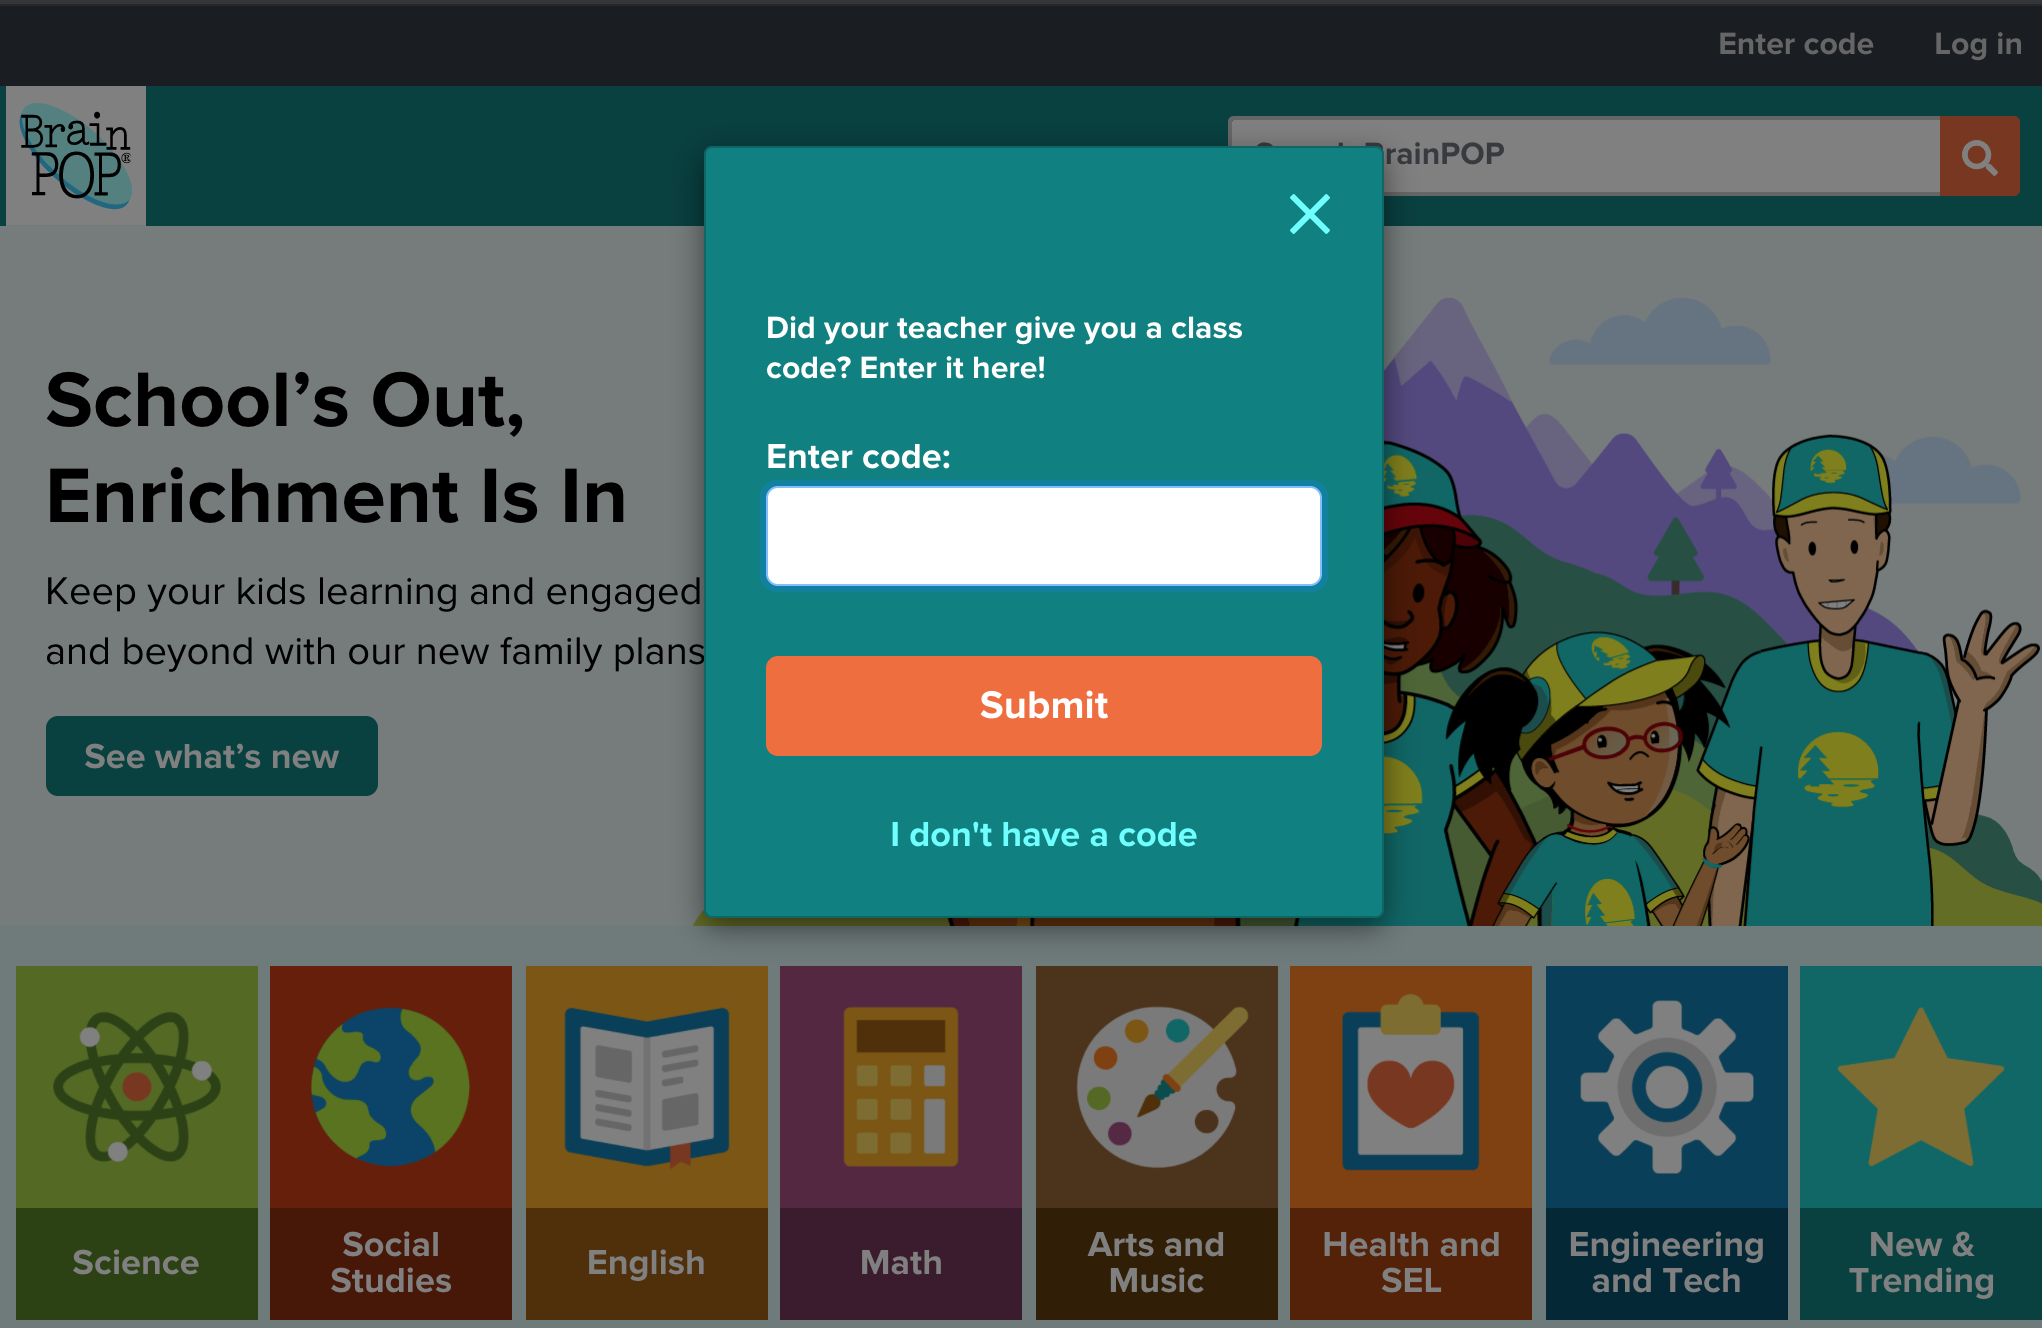
- Enter the code and click Submit. The student account is automatically created and linked to Google. The student can log in with Google SSO without an additional username or password to remember.
Logging in with Google SSO
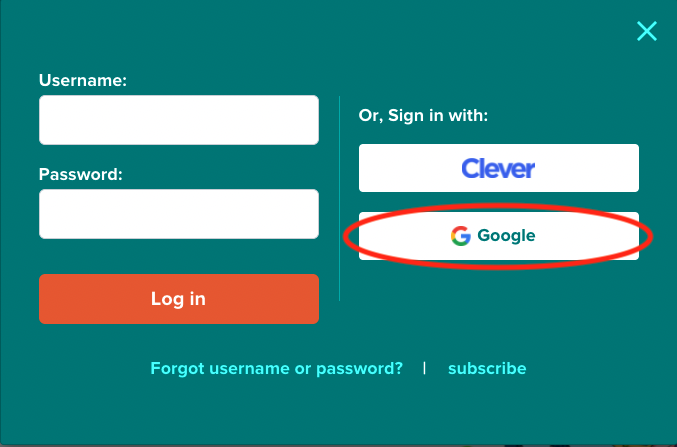
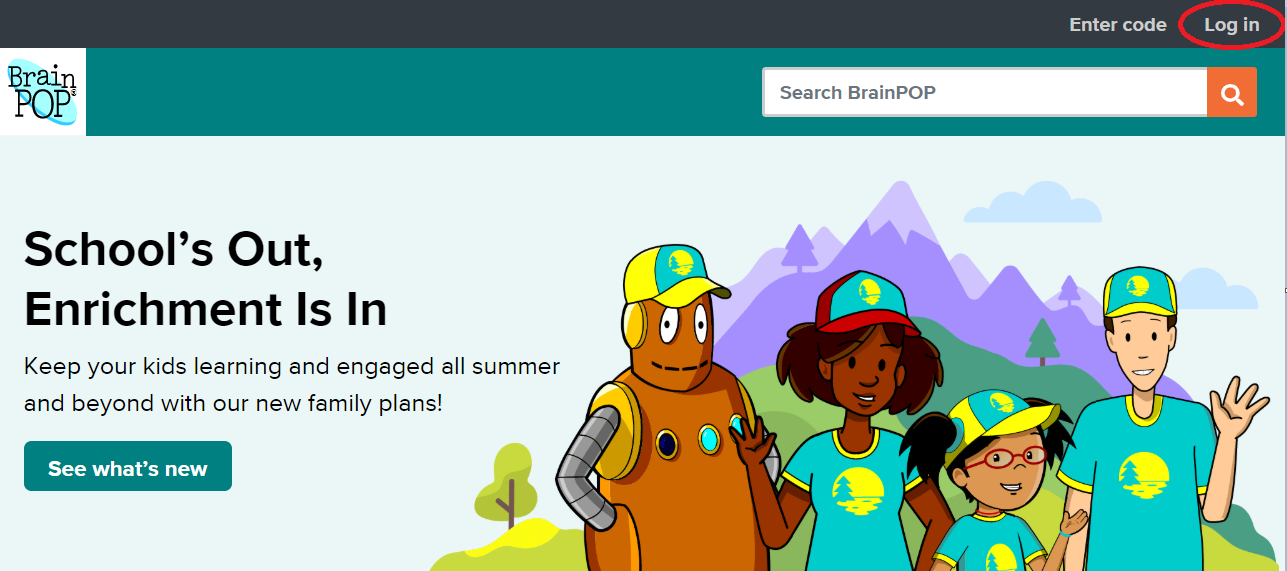
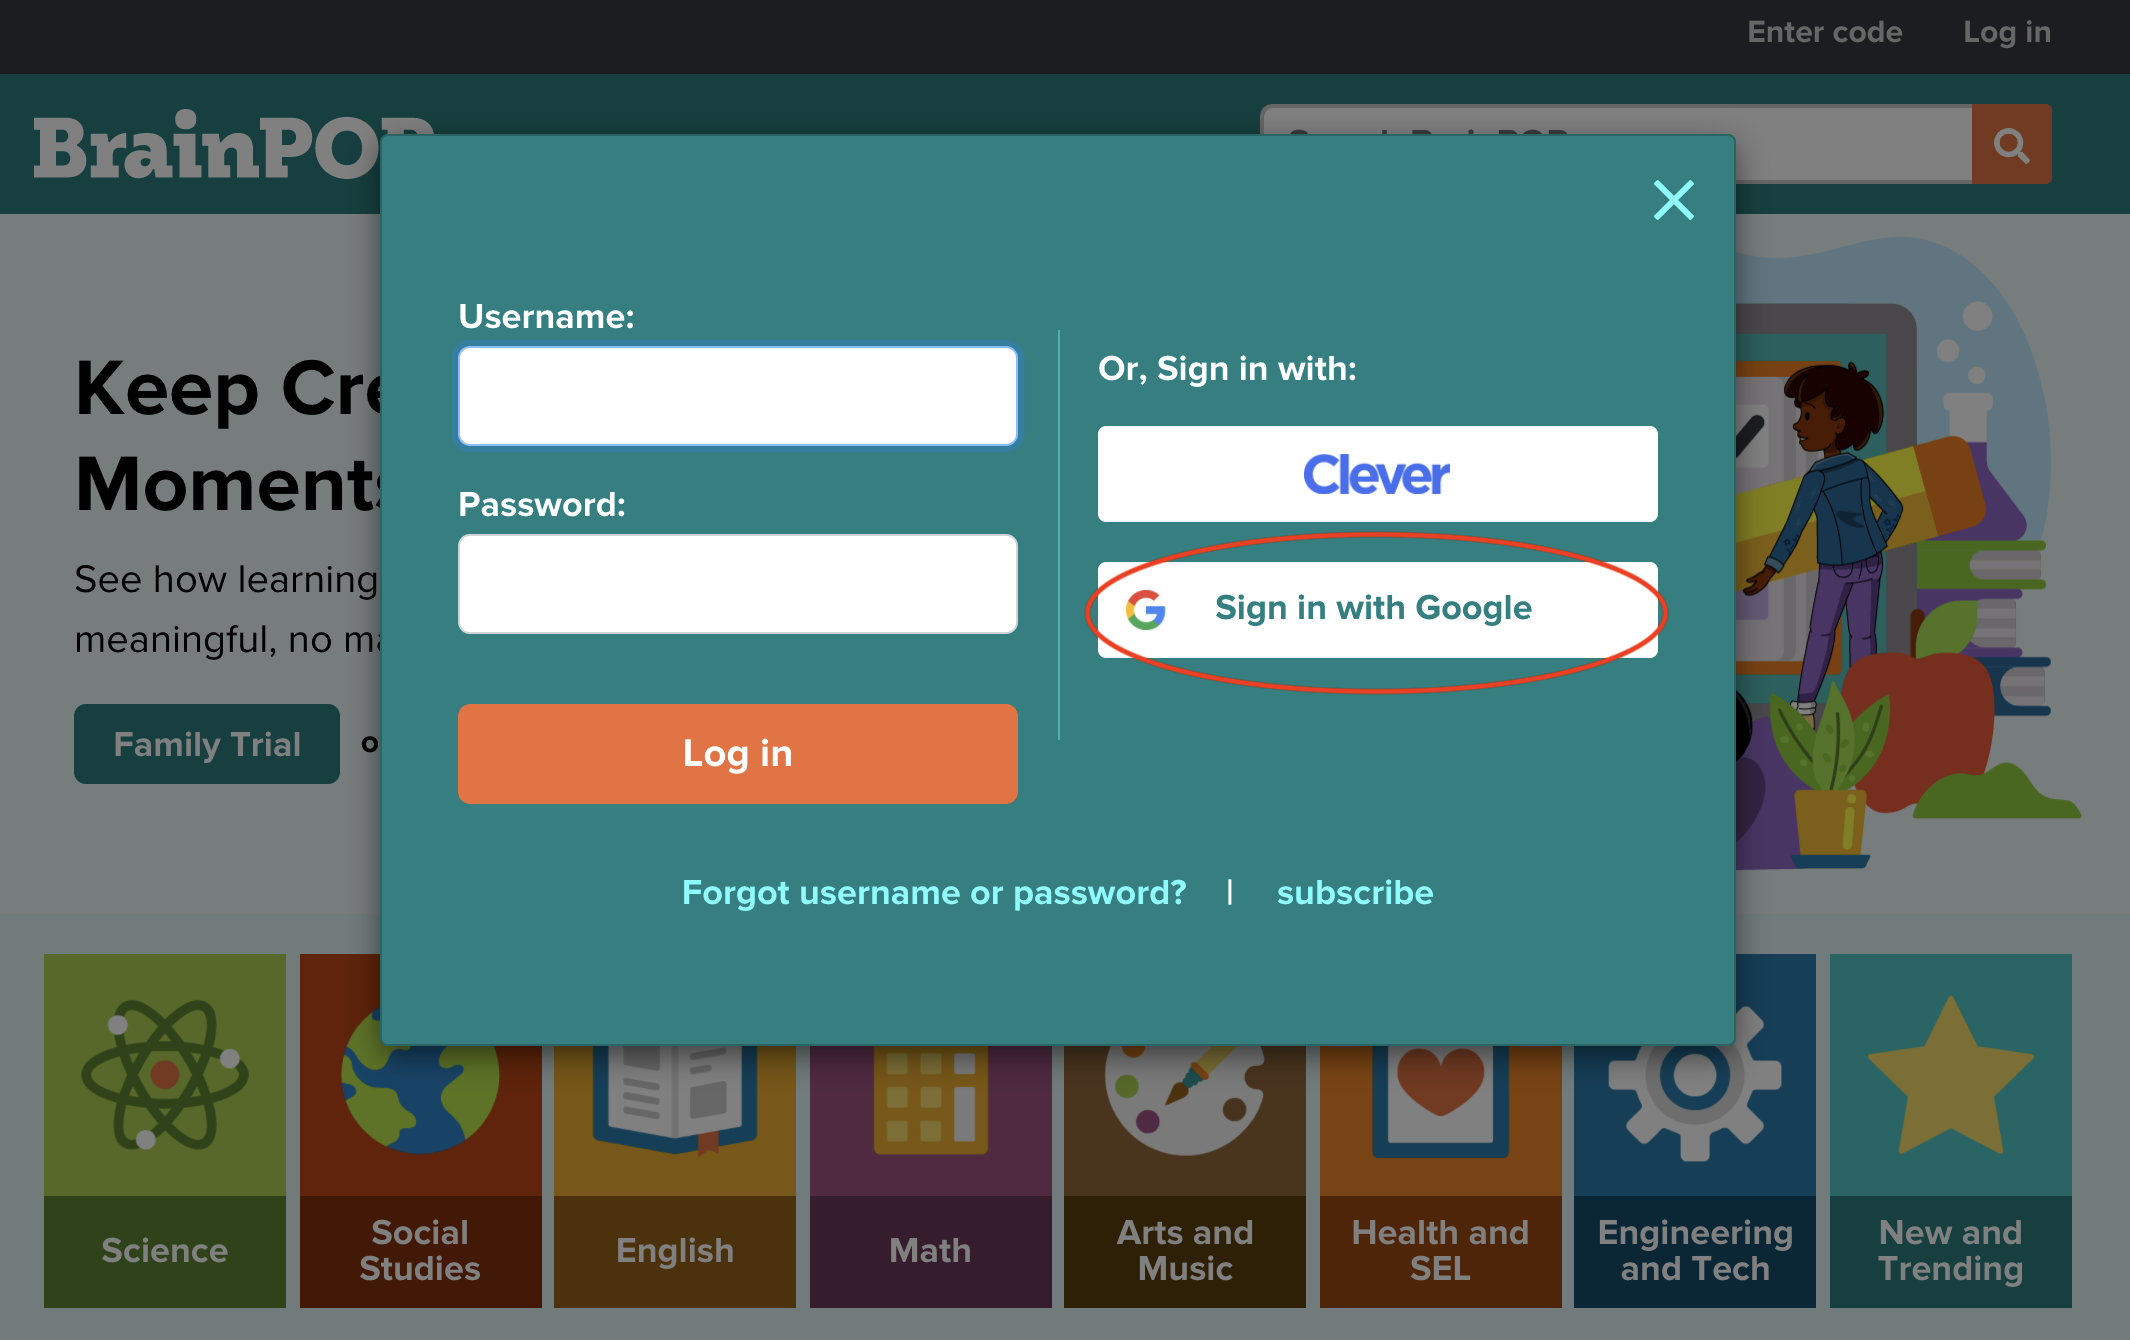
Students can log in from the BrainPOP homepages by choosing Log in and then selecting Sign in with Google.
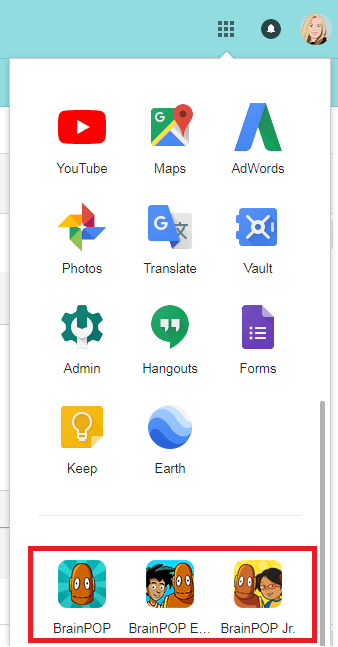
They can also log in from the Google waffle when they are using Google apps like Calendar, Mail and Drive.
Select the waffle icon and then scroll to find BrainPOP, BrainPOP Jr., BrainPOP Science or BrainPOP ELL in the Workspace apps list.
Next Steps
Once your classes are created and students have joined, you can start creating assignments. If you have any difficulty signing in, visit our article on Troubleshooting Google.
Frequently Asked Questions
What if a student already has a BrainPOP individual student account? Can this integration match that account to Google?
Unfortunately, no. We don't support matching student accounts with Google at this time because we collect very limited student data. Creating a student account in Google will not match to an existing account the student may have.
Can a student be in multiple classes at once?
Absolutely. There is no maximum number of classes a student can join. At any time, a student logging in with Google can click 'Enter Code' to enter a class code for a new class, and join it.
Do you support co-teachers with Google Classroom?
We do! If two teachers upload the same roster from Google Classroom, they will be added as co-teachers of the same class.
Can students join classes in multiple schools?
Students can only be enrolled in classes in one school at a time. If a student attempts to join a class in a different school, they will receive a modal warning to let them know that changing schools will remove them from their existing classes at the original school. If a student moves schools, the information lost on transfer cannot be recovered.
I already created my class, but I can't find the Class Code. What do I do?
If no students have joined your class yet, go to your Dashboard and, under My Classes, click the name of the class you're looking for. The Class Code should be on the next page.
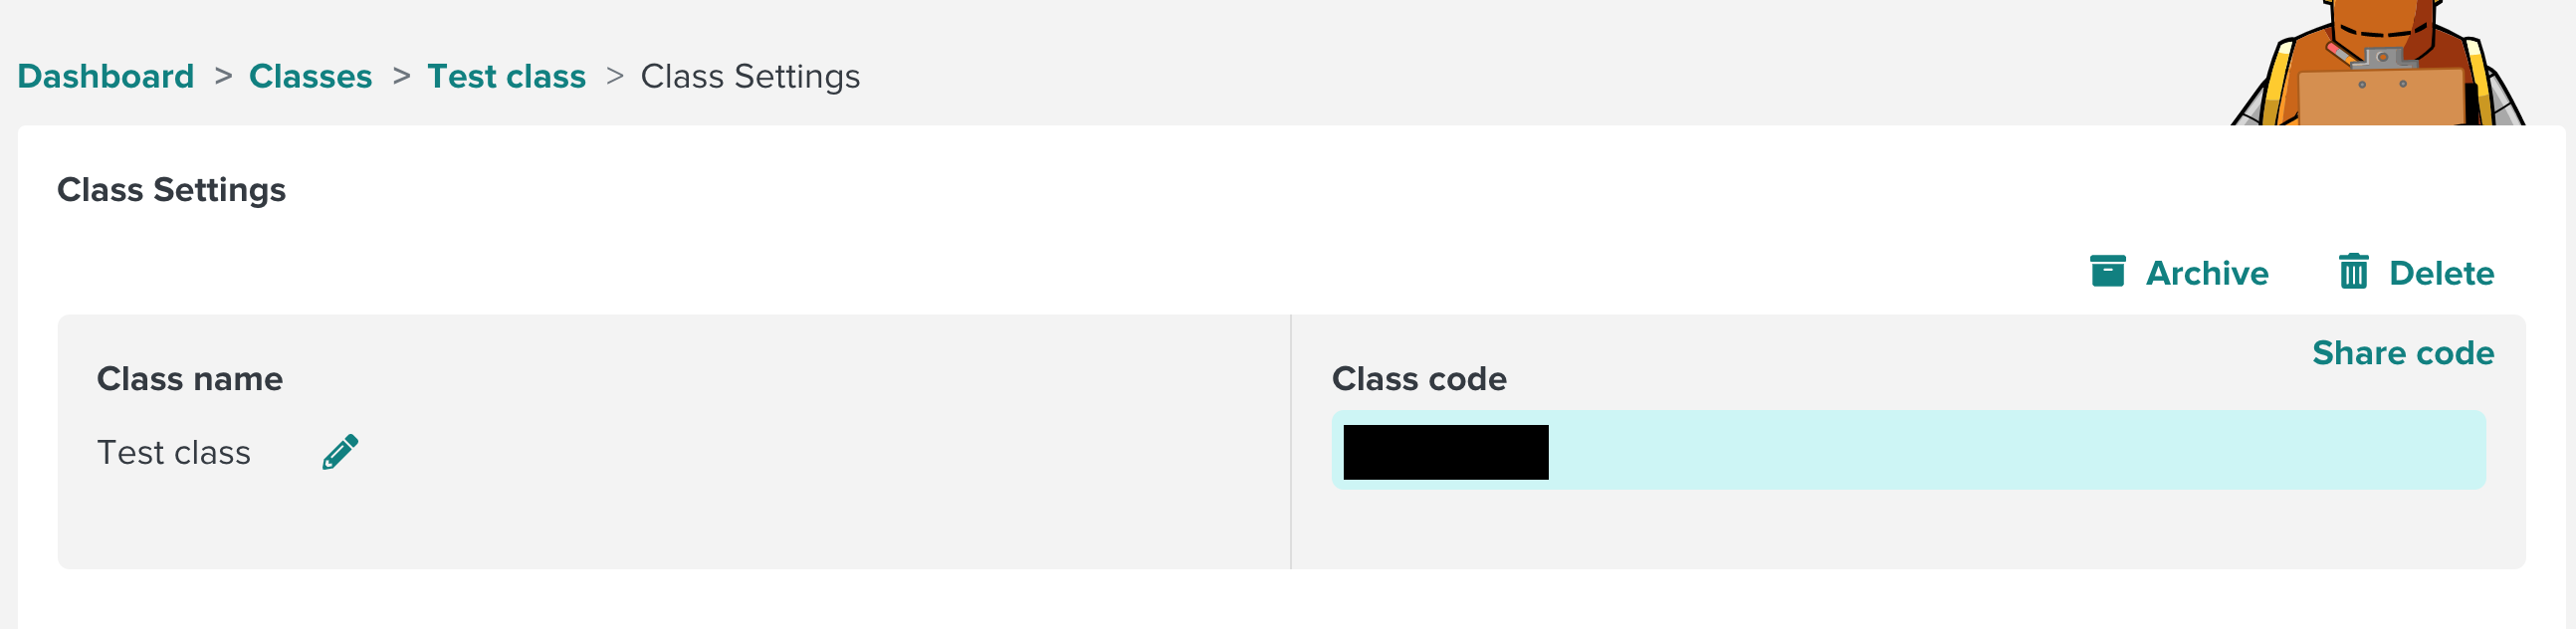
If students have already joined your class and you need the code for additional students, you can select the class and then go to Class Settings. The code will be there in a blue box.
What happens if a student clicks 'I don't have a code' when setting up?
The student will be logged in to a shared school or districtwide account, which will provide them with access to some features (like movies and quizzes), but will not track their progress, activities, or allow them to view or take assignments. These features all require the creation of an individual student account.